Five tips for going to the field with 604 R-series balers
March 2022
To get the consistent, square-shouldered bales these machines are capable of, there are five items to check before going to the field.
 Check your pickup height:
Optimum performance requires you to adjust the pickup height to account for ground and windrow conditions and crop material. Pickup height is adjusted on the side using the toolless adjustment. Generally, the clearance between the pickup teeth and the ground should be approximately 1.5 inches (3.8 cm) with the pickup fully lowered.
 Check your bale size:
Navigate to the bale setup screen on the Atlas or Atlas ProTM control system monitor. Touch the plus or minus icons to adjust full bale size.
 Check for correct bale calibration:
Confirm the bale and the chamber match the bar graph size on the Atlas or Atlas Pro control system monitor. Engage the PTO and fully open the tailgate. When in the calibrate screen, offset the sensed bale size to 37 inches (94 cm), then close the tailgate.
You can also calibrate your bale size in the field by following these steps:
- Make and wrap a bale, and take note of your current bale size reading before ejecting the bale.
- Measure the actual bale diameter both vertically and horizontally on both sides of the bale.
- Add these measurements together and divide by four to determine the average bale size.
- Back on the Atlas or Atlas Pro control system monitor, use the minus or plus icons on your display to adjust the number to match the actual bale size measured.
- Repeat these steps until your bales are within one inch of the current bale size readings with a wrapped bale in the chamber.
 Check bale density settings:
Adjust your bale density by navigating to the bale setup screen in the Atlas or Atlas Pro control system and touch the plus or minus icons. This step will set the spring and hydraulic cylinder pressure, which packs the crop material based on the chosen bale density.
"To start, set the density at 50% or below for the first 100 bales. Reduce density if you’re getting excessive friction from the side wall or if the clutch if frequently slipping. Increase density if you desire a denser bale."
 Check netwrap or twine supply:
Be sure to check your netwrap supply and load more if needed. Follow these steps:
- Engage the lock pin to lock the sensor spiral and turn the T-handle to loosen it.
- On the other side, remove the linchpin and swing open the spindle support.
- Slide the netwrap onto the rubber bushing.
- Swing the spindle support into the opposite end of the netwrap and secure with the linchpin.
- Gather the leading edge of the netwrap and route it under the spiral roller and over the feed pan.
- Pull enough netwrap through so that it hangs at least four inches over the front of the feed pan.
- Evenly spread the netwrap across the feed pan so it is at least half of the width of the pan.
- Slide the netwrap to center it on the spindle using the slots on the storage cradle as guides.
- Tighten the T-handle by engaging the lock pin to lock the sensor spiral and turning it in the plus direction.
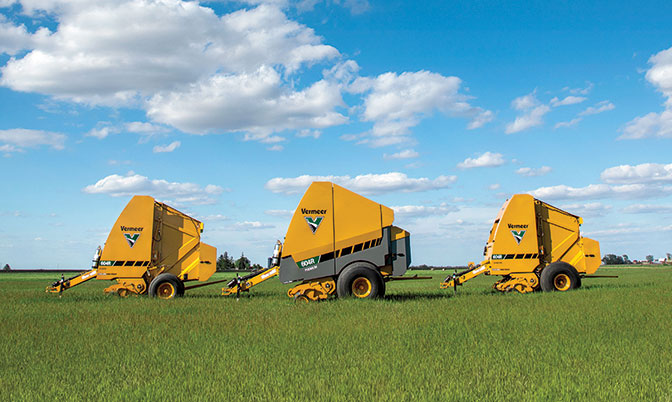
After the completion of this pre-field check, you are ready to go to the field with your Vermeer 604 R-series baler. For more information, see your operator’s manual or talk to your Vermeer dealer.