The Right Equipment Settings Mean Better Bale Appearance
April 2022
What’s a top problem for hay producers? Bale appearance. If you’re looking to make strong, round bales this season, check your equipment settings. A few adjustments could make all the difference for the appearance of your bales. Here are a few things to look at.
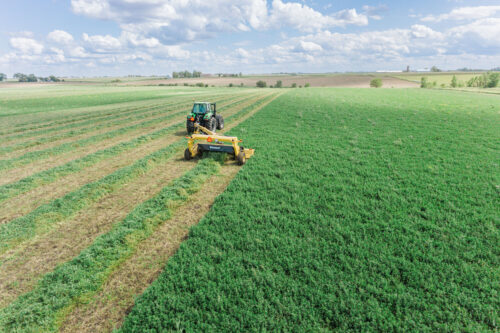
A better bale appearance starts with the windrow
It’s difficult to get your bale appearance nice if you don’t start with uniform windrows. If the windrow isn’t evenly dispersed and doesn’t align with the width of the bale chamber, you won’t get the tight, round bale appearance you’re after. You’ll need to create a boxy, evenly distributed windrow. The same amount of hay needs to be under each belt or else it may lead to loose belts and poorly packed bales. Unevenly distributed windrows can also cause your baler to plug or can create a bale that is too light in some places and too heavy in others.
 To create a uniform windrow, make sure your rake is set up so your windrow width will match the width of your bale chamber. Watch this demonstration of rake adjustments made to a Vermeer small VR-series rake to see more about this. To properly adjust your specific rake, check your operators manual for optimal settings.
 You may also need to reevaluate your ground speed when raking, based on your terrain and your crop, to ensure you’re getting the right windrow width for optimal bale appearance. In most ground conditions, a ground speed of 7-10 mph (11-16 km/h) is usually ideal. Raking hay at the correct speed will help reduce contamination like rocks and dirt in the windrow and reduce wear on the rake and tines. Reducing contamination in the windrow will help lead to a more even pickup across the bale chamber. Don’t forget to check your rake tines as well. Broken or missing tines can affect the shape of your windrows.
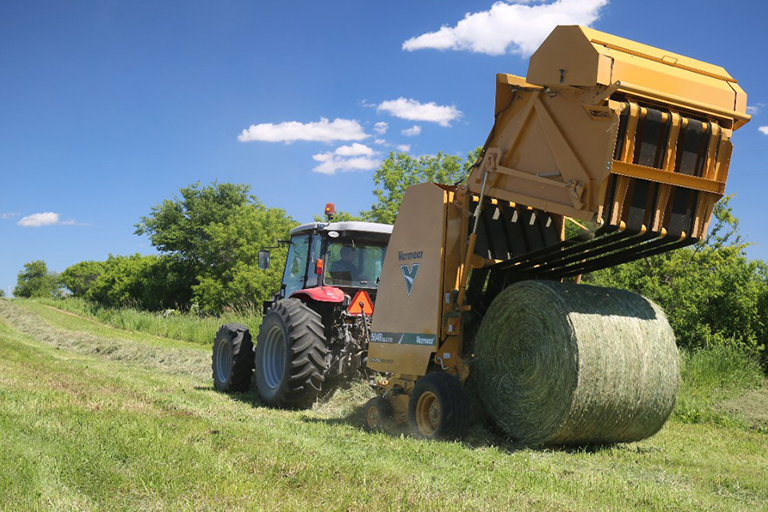
Baler adjustments for uniform bale appearance
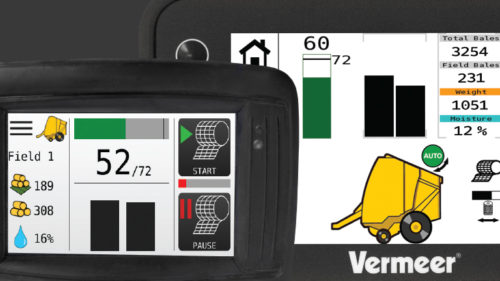 The settings on your baler will also affect your bale appearance. Be sure to check the bale shape setting. Depending on your baler model and monitor, you should be able to tell when belts are tight and keep an eye on the bale shape. Check your baler’s operator’s manual for directions about setting up your bale shape. If you have a Vermeer baler, you have access to online manuals or free replacement manuals, if needed.
 Besides windrow width and uniformity and belt tension, your baler’s density settings are also important to bale appearance. If you’re unsure of what percentage to set your density to start with 50% or below. Reduce pressure if there is excessive friction from the side wall or excessive clutch spillage. To learn more about density settings for your baler and field conditions, watch this how-to video for R-series balers.
Once you’ve set the bale density to keep the bale tight, make sure to keep it that way with proper tension and adjustments on the twine or net. If the net or twine is improperly set, the bale may increase in size when released. This increase in size will lead to lost production and poor bale appearance. Properly adjusted twine or net should snap back against the bale and not sag.
If you have questions on equipment settings and making good-looking bales, be sure to talk to your local Vermeer dealer for more tips and equipment adjustments you can make.